As an administrator, you must set up Avanti Go for your employees to receive the Avanti Go App on their phones.
This is only applicable to clients with Workflows. If you do not have Workflows, notifications will not be available on Avanti Go.
Additional Information
The language of the notifications will follow the toggle in an Employee’s profile, either in English or French.
You can set up any notification from an Avanti Workflow to populate Avanti Go. To set up workflows on Avanti Go, complete the following:
Additional Information
Notifications are the same on Avanti Go and ASSP, so once you finish setting this up for Avanti Go, it’s also available on ASSP.
How to Add Mobile Notification Maintenance to the Menu
The following steps will guide you through adding Mobile Notification Maintenance to the System Menu. If Mobile Notification Maintenance is already on the menu, skip to the Set Up the Avanti Notification Types section.
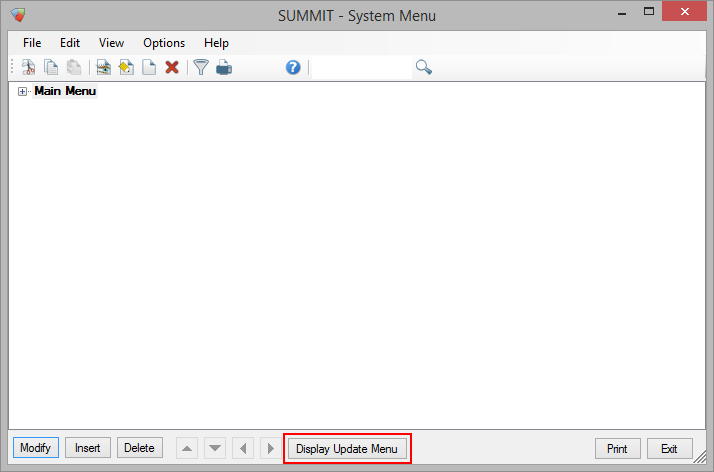
Step 1: Select Display Update Menu in the System Menu.
By default, this can be found in System Administration >> System Menu.
Once Display Update Menu is selected, an additional column, Update Menu will display. The Update Menu displays all the available menu items.
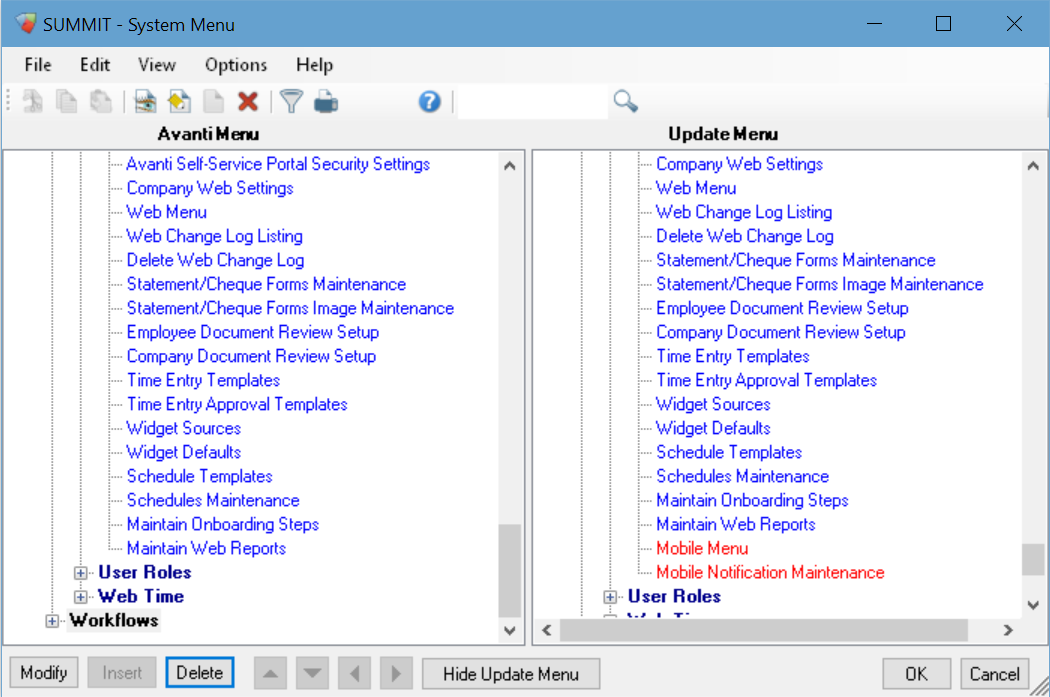
Step 2: Under Web Services >> Installation & Maintenance, Mobile Notification Maintenance should be displayed in red. If it is, right-click on the item and select Add New in Avanti Menu.
Additional Information
If Mobile Notification Maintenance is not red, it is already on your menu. Please skip this step.

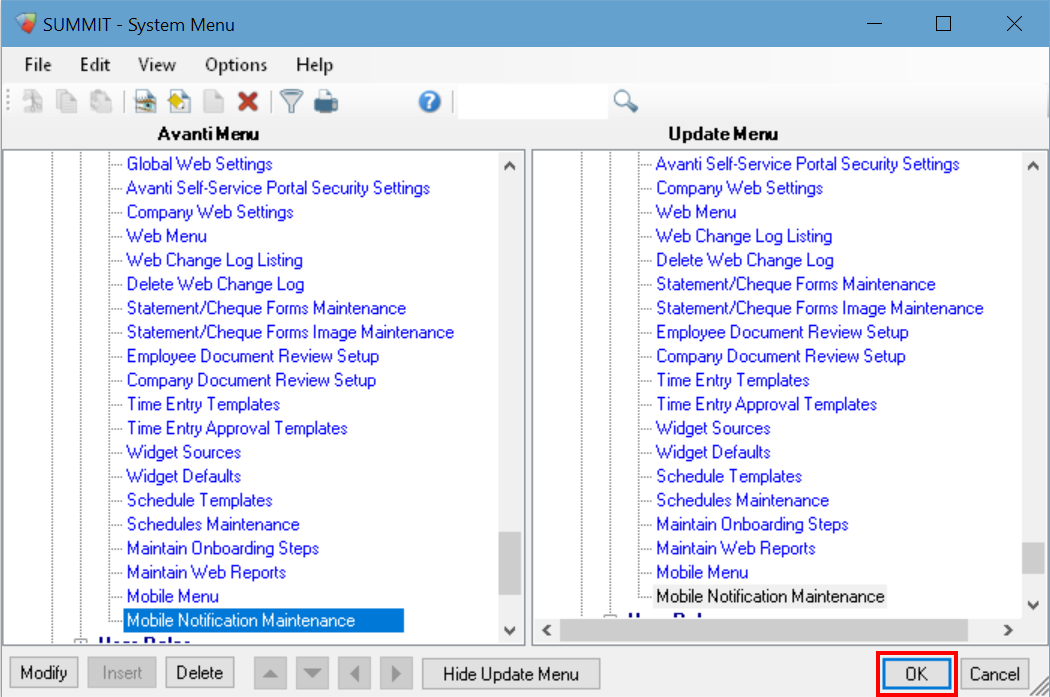
Step 3: Select OK to save your changes.
How to Set Up the Avanti Notification Type Maintenance
Avanti Notification Types provides the ability to set up the types of notifications employees can receive, which notifications employees will receive by default, and which notifications employees can disable.
For example, you could use the Schedules Type for the Schedule Assigned and Schedule Reminder Workflows.
Additional Information
What’s New notifications are only available in ASSP.
By default, employees will receive all notification types and be able to turn off the notifications. On Avanti Go, the name and description will appear similar to:

If you are satisfied with this setup, please skip to Update the Notification on the Workflow.
Step 1: Log into the Avanti Desktop Application and select Mobile Notification Maintenance
By default, this can be found in Web Services >> Installation and Maintenance.
Step 2: Right-click on the Notification Type you would like to update and select Modify.
Additional Information
You cannot add additional notification types, but Step 2 guides you through updating the name and the description of each notification type.

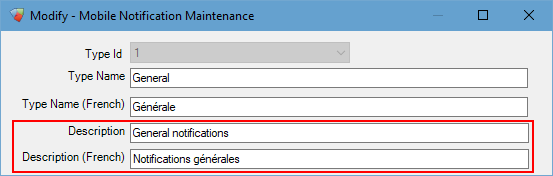
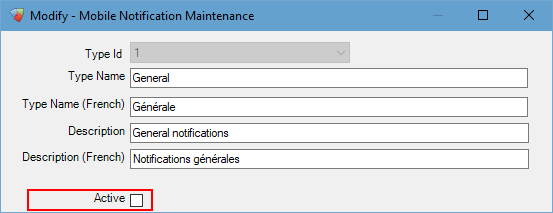
Step 3: To change the name of the notification type that will display on Avanti Go, update the Type Name. You can also update the name that will appear when the user logs into Avanti Go on a French device by updating the Type Name (French), if applicable.

Step 4: To change the description of the notification type that will display on Avanti Go, update the Description. You can also update the description displayed when the user logs into Avanti Go on a French device by updating the Description (French), if applicable.
Step 5: By default, this notification is active so that employees will receive this type of notification. To prevent notifications with this type from being displayed in Avanti Go, deselect Active.
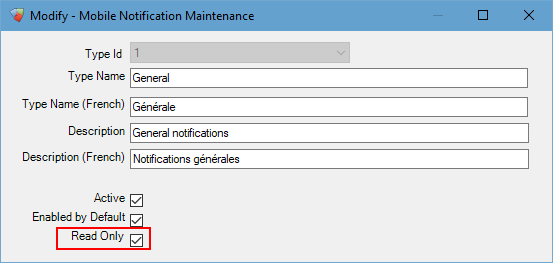
Step 6: By default, employees will receive the notification when they first log into Avanti Go. To prevent employees from receiving this notification type, deselect Enabled by Default.

Step 7: By default, employees can choose not to receive notifications within Avanti Go based on Notification Type. To ensure employees receive this notification type and cannot turn them off, select Read Only.
Additional Information
When Read Only is selected, Enable by Default should also be selected.
Step 8: Select OK to save your changes.

Complete Steps 1 to 8 for each workflow type you’d like to update.
How to Send Notifications to Avanti Go
Any notification generated by a workflow can also appear on Avanti Go and ASSP by you following these steps:
Step 1: Open Maintain Workflows in the Avanti Desktop.
By default, this can be found in Workflows.
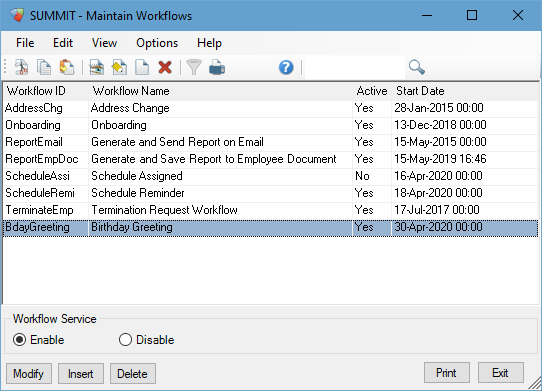
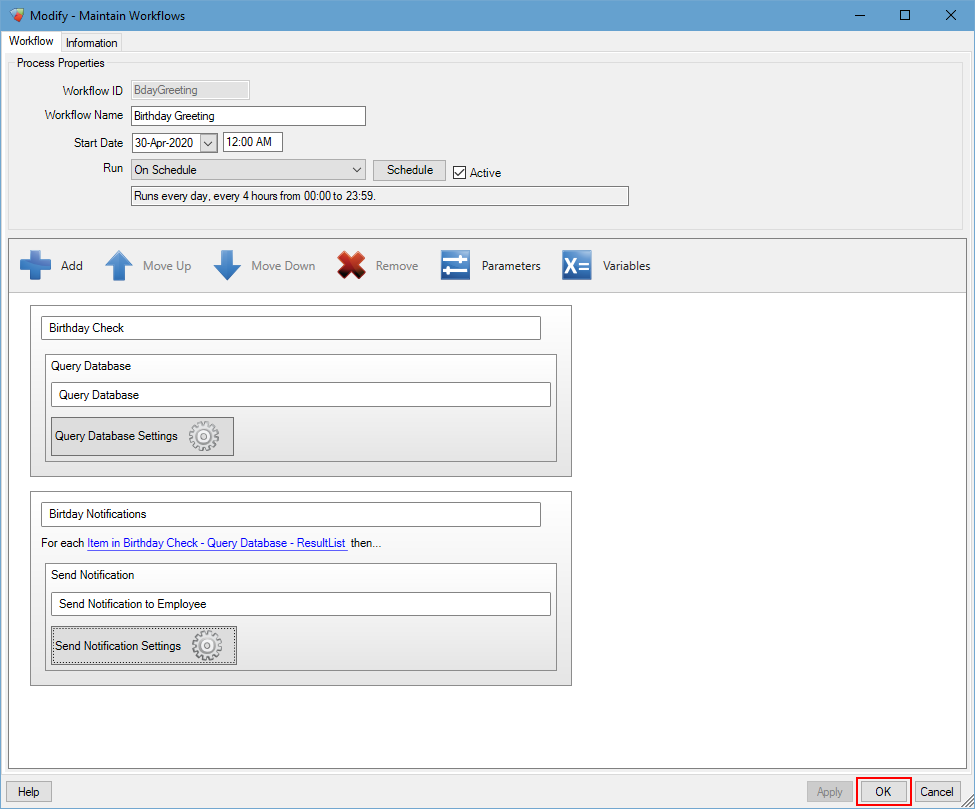
Step 2: Select a workflow with notifications that should be on Avanti Go, then click Modify.

Step 3: Select the task/action for the notification you would like displayed on Avanti Go.
The following tasks and actions send notifications:
Job Request Approval Settings
Create Job Settings
Request New Hire Settings
Review New Hire Information Settings
Request Termination Settings
Generate Report Settings
Terminate Employee Settings
Generate Employee Document Settings
Send Notification Settings
Initialize Onboarding Settings

Step 4: Select the Notification tab if it is not the first tab displayed.
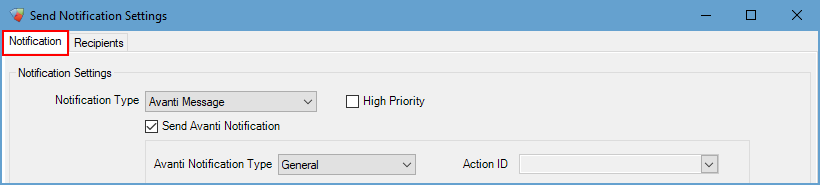
Step 5: Select Send Avanti Notification to include the notification on Avanti Go.
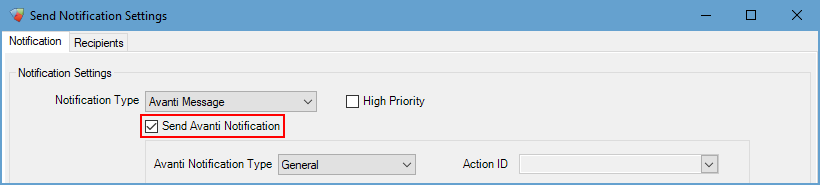
Step 6: Once Send Avanti Notification is selected, you can choose the Avanti Notification Type from the active notification types.

Additional Information
Avanti Notification Types categorize the notifications. Based on these categories, you can determine which notifications are required. If they’re not needed, employees can choose whether to receive these notifications.
You can update Notification Types in Mobile Notification Maintenance.
Step 7: Select OK to save the changes to the Notifications.

Step 8: Select OK to save your changes.
Congratulations! In addition to how they were previously notified, users will now receive this notification on Avanti Go.
Complete Steps 1 to 8 for each workflow notification you would like included on Avanti Go and ASSP.
How to Enable Push Notifications
Enable push notifications to help ensure everyone gets the notifications in a timely manner. Push notifications are sent every 15 minutes.
Employees with Avanti Go will receive notifications on their devices, even when they’re not using Avanti Go.
On ASSP, users will get browser notifications.
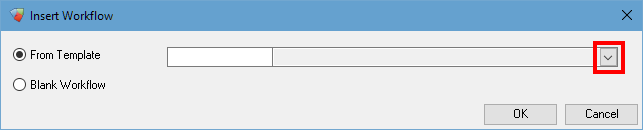
Step 1: Select Insert in Maintain Workflows.
By default, this can be found in Workflows.

Step 2: Select the arrow beside From Template.
Step 3: Enter 205 in the Filter, then select OK.
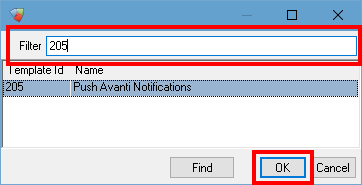
Step 4: Select Active, then select OK.
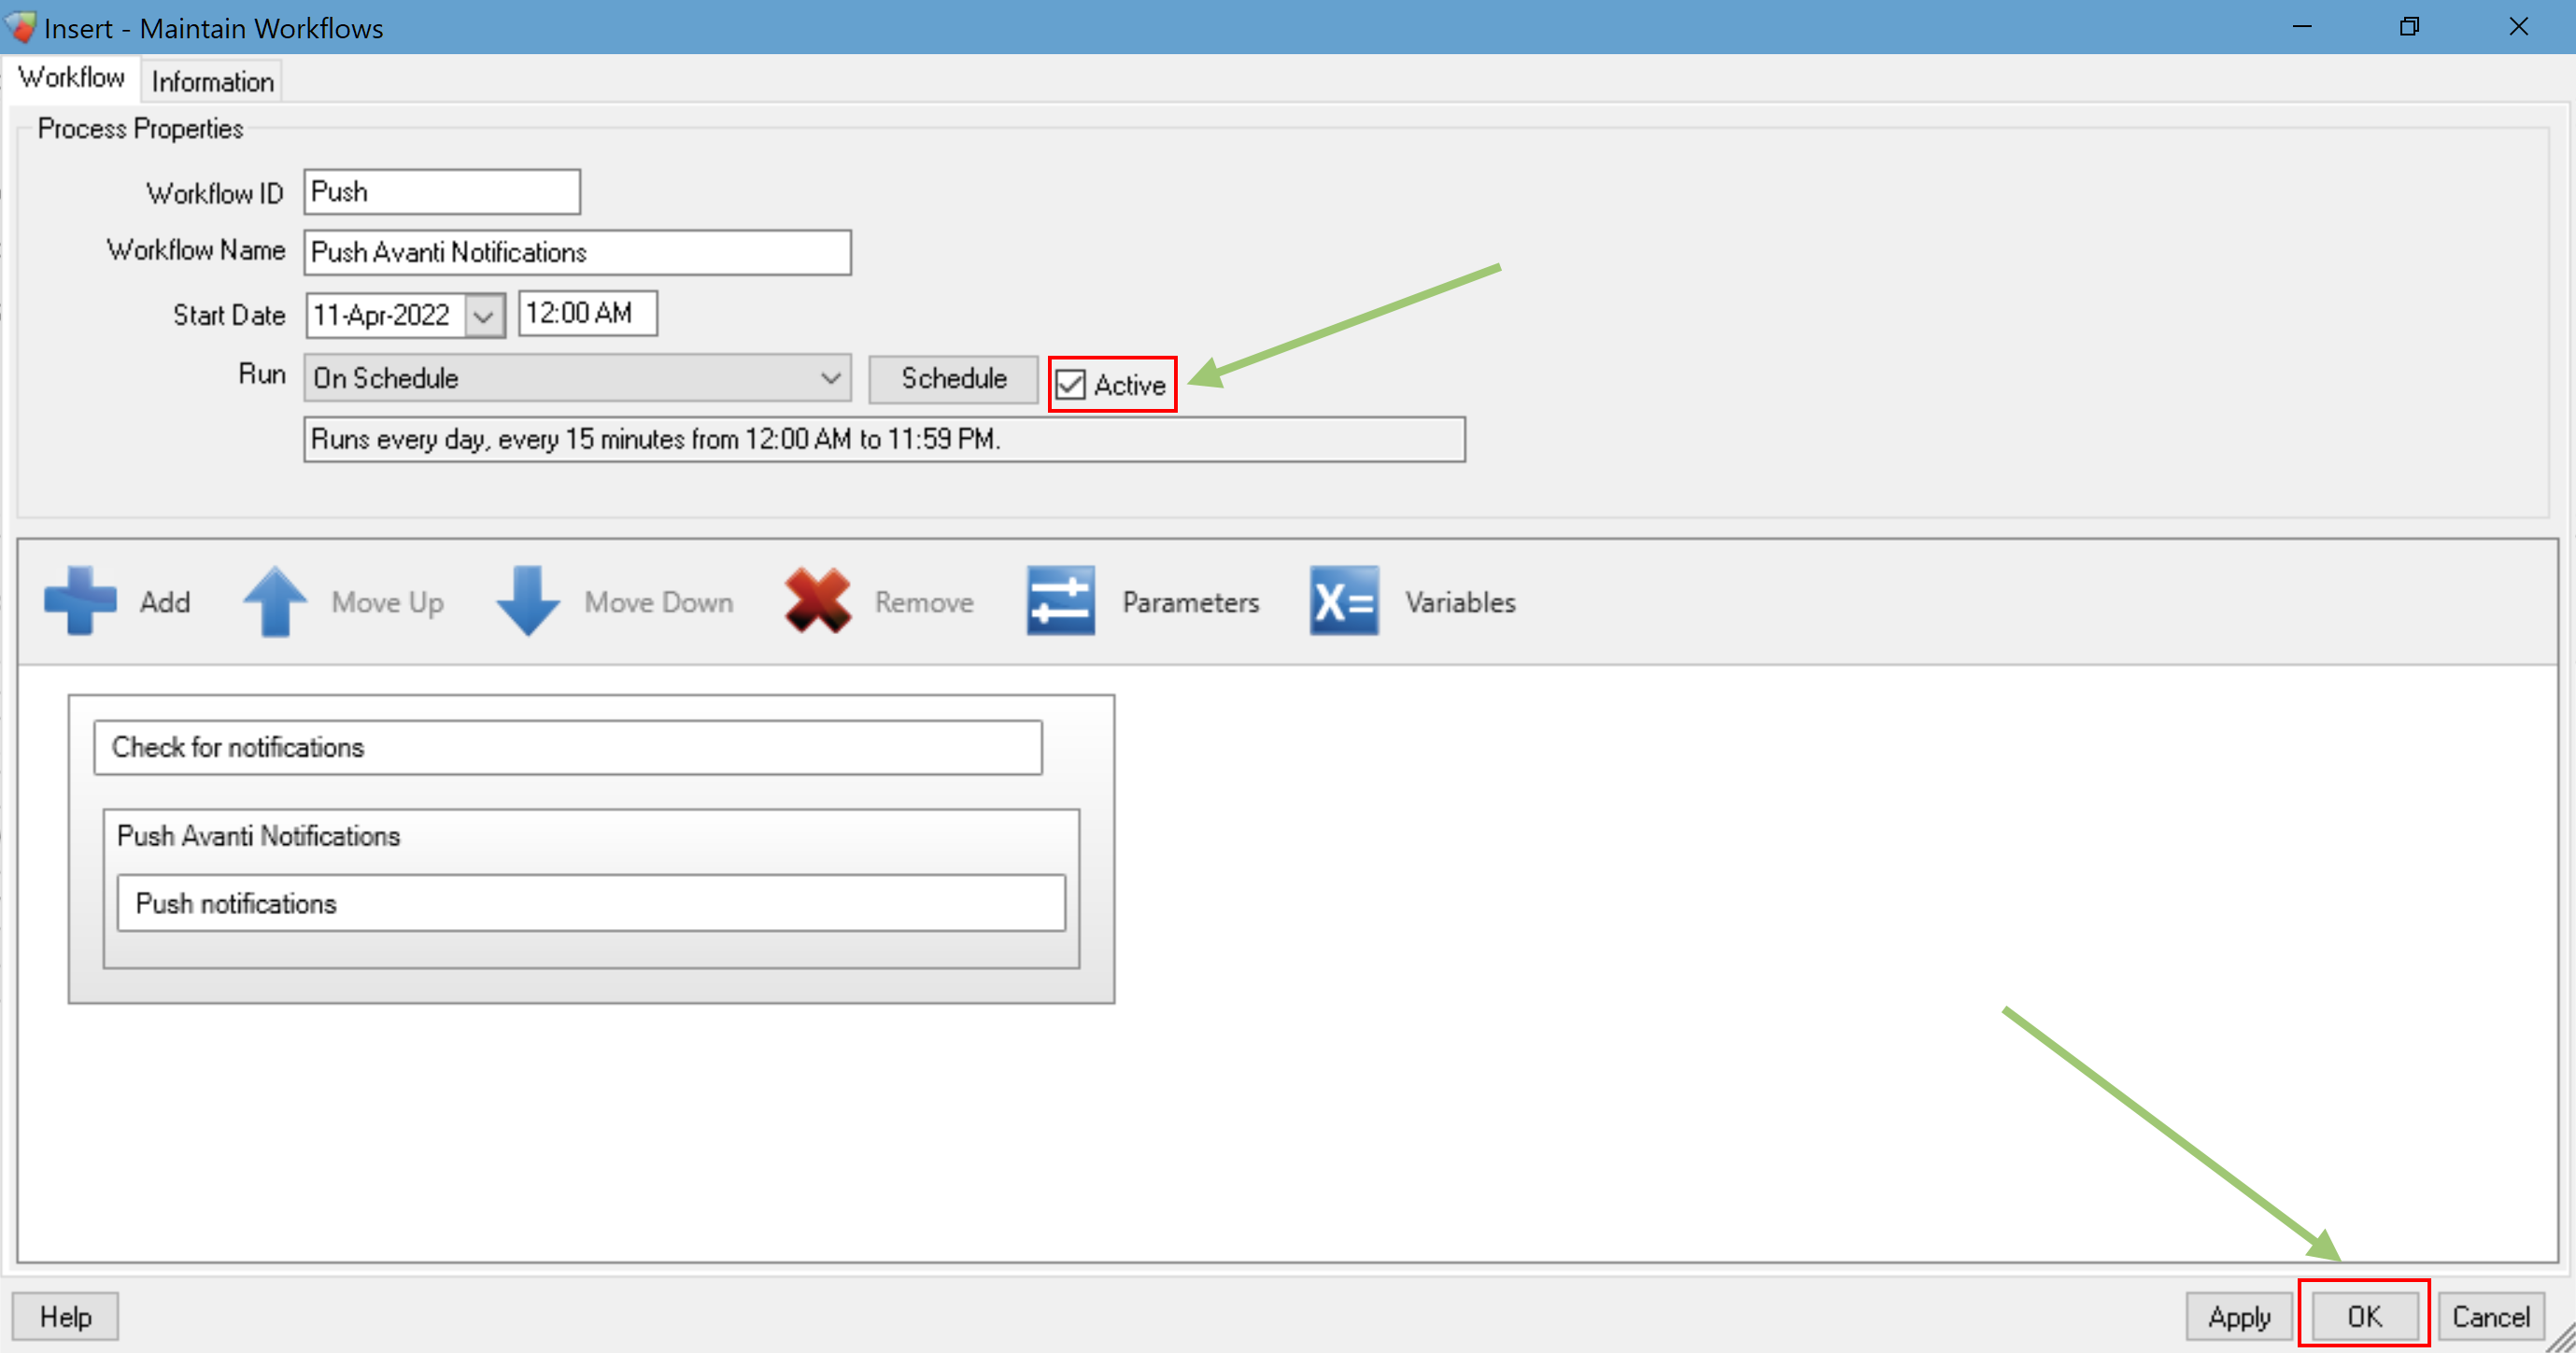
Congratulations! Push notifications are all set up.
How to Enable Notifications
Once you have finished setting up notifications, complete the following for employees to receive notifications on Avanti Go and ASSP.
Step 1: Log into the Avanti Self-Service Portal and select the Company Settings tab in Administration Settings.
By default, this can be found in Administration on the Avanti Self-Service Portal.

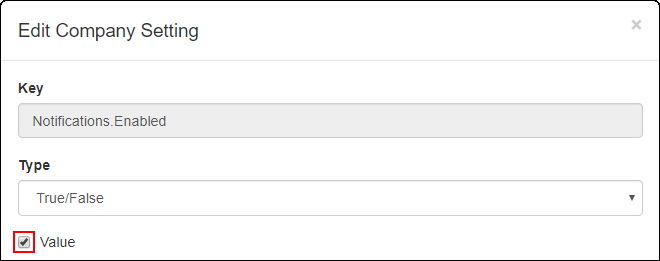
Step 2: Enter Notifications.Enabled into search. Ensure there are no trailing spaces.

Step 3: Select Edit.

Step 4: Select the checkbox beside Value. Select Save.
Step 5: Select Reload Settings.

Congratulations, Avanti Go and the Avanti Self-Service Portal is all set up with notifications.